Lons
Fellow
This is a follow on from my thread "Jim' a meanie" as better to post in it's entirity for anyone interested. I may need to use several posts as the thread is photo heavy 
There are lots of different methods of making a drum sander and plenty of youtube videos around. In my case I wanted to buy as little as possible for this project in case I wasn't happy with the result and was lucky to have motor, bearings and shaft among my "treasures" so my total spend was only around £30 on 2 pulleys, a V belt and roll of abrasive. My plans sort of evolved as I went along.
Materials I used:
* 1 ph motor. * 2 x bearings. * 5/8" mild steel shaft. * 25mm ply. * 22mm melamine faced boards. * 18mm MDF * 30mm ash. * 12mm & 6mm threaded rod. * various aluminium angle, sheet and rod. * various nuts, screws, glue etc. * an old ex router table stand. * electric switched fused spur. * scrap of 10mm SRBP (spacer washers on drum shaft).
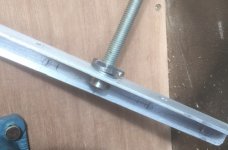
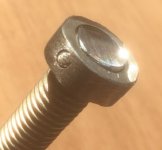
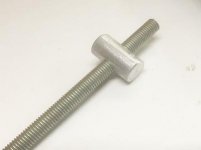
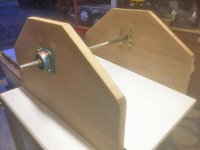
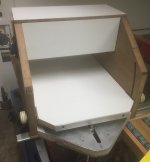
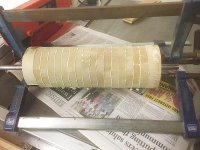
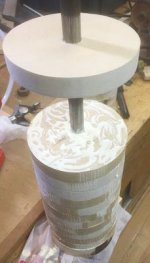
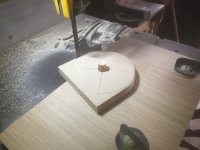
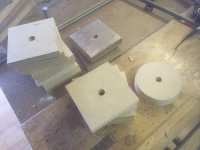
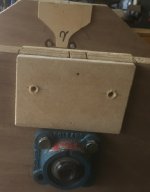
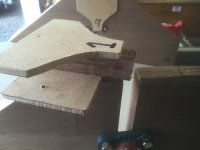
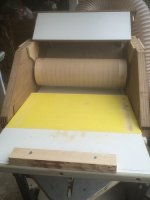
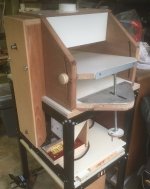
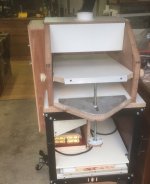
Pictures are self explanatory and as I made to fit what I had, I didn't bother with detailed plans. length of available shaft dictated a drum of only 360mm but I think anything larger would benefit from a 25mm shaft.
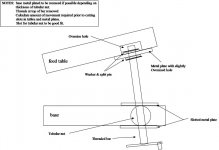
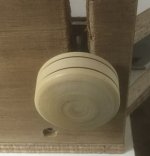
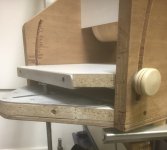
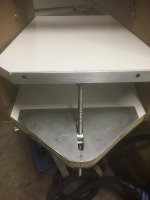
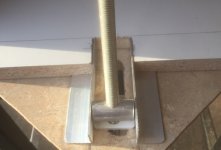
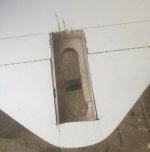
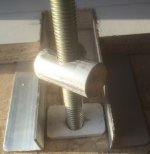
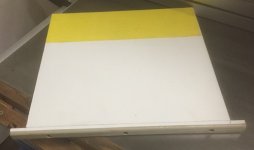
Idea of the lift mechanism was I felt easier than some kind of universal joint under the feed table, some have just a rod resting on a plate under which I didn't care for but side clamps are needed to lock the table.
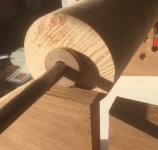
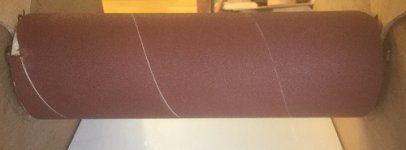
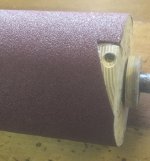
Drum was trued up using 60g paper glued to a sub table which I slid back and forth. Abrasive fixing was jus a slot cut into the ash ends using a multitool, a thin plastic shim shoved in and a screw but the abrasive stretched slightly and I had to retighten one end. Not a problem but I'm thinking of a shallow recess instead where I can lay the paper in and secure with a thin metal plate or cup washer and screw.
I fitted a securing bracket to the motor mount as found it jumped on start up. Used a switched spur as I had one but might change for a NVR switch later.
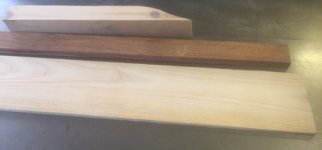
I ran a few bits of timber through to check and all came out flat and true although not a finished surface so make get some finer grit abrasive. softwood, rosewood and ash as in photo.
Conclusion:
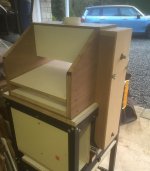
It isn't pretty and weighs a ton so needed to put on a mobile base but it works although only time will show how well.
It runs well with very little vibration and is reasonably quiet although ball bearing plumber blocks would be better than my sleeved ones.
* Did I enjoy making it?................ yes, very definitely.
* Did it take long?........................ yes though didn't keep count of hours.
* Would I make a mark 2?............No, been there done it, one's enough
* Was it worth doing?...................I believe so and I did after all save the best part of £750 on a new Jet
However, if you don't have time to spare and cost your time at say £15 an hour plus need to buy all the materials then bite the bullet and buy one.



 )
)

