• Thanks for visiting The Penturners Forum today.

    There are many features and resources that currently you are unable to see or access, either because you're not yet registered, or if you're already registered, because you're not logged in.

    To gain full access to the forum, please log in or register now. Registration is completely free, it only takes a few seconds, and you can join our well established community of like-minded pen makers.

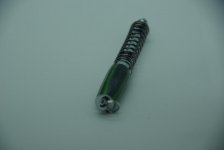
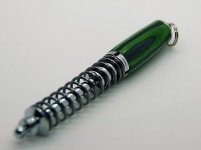
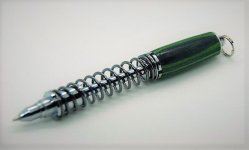
Finally a Shock Absorber Pen

Garno

Fellow
Joined
May 12, 2021
Posts
1,372
Location
Dronfield
First Name
Gary
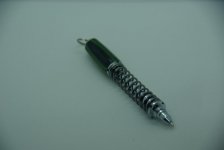
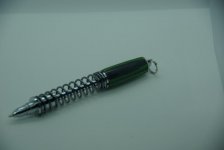
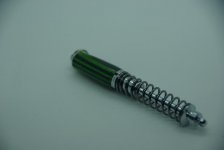
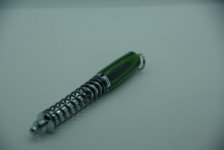
Third times the charm as folks say.

After twice messing up I finally tried my third attempt to get this pen right.
The main difference between this one and the other 2 is that I used bushes this time and made sure I did not press the keyring into the tube :rolling:

I tried using veneered wood for the very first time, kindly provided by Mark [MENTION=626]flexi[/MENTION]

I didn't like the pen at first, but it has very much grown on me.
Once again the finish has let me down but it is improving.

Shock Absorber Pen
Finish:- CA and Burnishing Cream
Wood :- Veneer
Time invested :-3 Hours
 

Attachments

  • IMGP0695.jpg
    IMGP0695.jpg
    15.4 KB · Views: 33
  • IMGP0696.jpg
    IMGP0696.jpg
    17.2 KB · Views: 33
  • IMGP0697.jpg
    IMGP0697.jpg
    17.6 KB · Views: 33
  • IMGP0698.jpg
    IMGP0698.jpg
    16.4 KB · Views: 33
  • IMGP0699.jpg
    IMGP0699.jpg
    13.9 KB · Views: 33

silver

General dogsbody
Executive Member
Joined
Jun 29, 2013
Posts
6,304
Location
Somewhere in Staffordshire,
First Name
Eamonn.
Well done Gary, Looks good.

As for photos its some times the camera that is being fooled by the background. I'm no photographer but you can change some things with the basic MS photo editor

Some are in to all sorts of photo editors but not me...:rolling:

All I have done here is hit the "auto correct". :wink:

Garno-1.jpg Garno-2 (2).jpg
 

Garno

Fellow
Joined
May 12, 2021
Posts
1,372
Location
Dronfield
First Name
Gary
Well done Gary, Looks good.

As for photos its some times the camera that is being fooled by the background. I'm no photographer but you can change some things with the basic MS photo editor

Some are in to all sorts of photo editors but not me...:rolling:

All I have done here is hit the "auto correct". :wink:

View attachment 44142 View attachment 44143


Wow,

They look so much better, thanks for the heads up I will start to use that :winking:
 

Garno

Fellow
Joined
May 12, 2021
Posts
1,372
Location
Dronfield
First Name
Gary
I destroyed another blank today,

I know the reason why, as I'm nearing the end of the turning I found I have a tendency to start rushing it, destroyed 2 blanks doing it.

IT IS NOT A RACE, IT IS NOT A RACE ........... :sob::sob::sob:
 

alpha1

Fellow
Joined
Mar 29, 2018
Posts
1,217
Location
middlesbrough
First Name
Dave
When I first started I lost lots of blanks before realizing I was trying to turn to close to the bushings. I now leave more meat on the finished turned blank and take them down to the bushings by sanding takes a little longer but I think I get a better finish this way.
 

Garno

Fellow
Joined
May 12, 2021
Posts
1,372
Location
Dronfield
First Name
Gary
When I first started I lost lots of blanks before realizing I was trying to turn to close to the bushings. I now leave more meat on the finished turned blank and take them down to the bushings by sanding takes a little longer but I think I get a better finish this way.

I think I will try that as I turn right up to the bushes.
What grit are you starting with to reduce the blank to the size of the bushes?
 
Warning! This thread has not had any replies for over a year. You are welcome to post a reply here, but it might be better to start a new thread (and maybe include a link to this one if you need to).
Top