Penpal
Grand Master
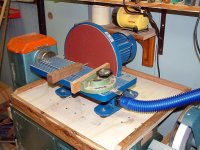
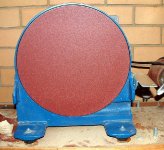
A year or two ago I bought this 305 mm Disk sander for this purpose with a view to creating another set up in my workshop I already had another one I had made from an air conditioning fan station I had put aside for the purpose, obtaining one inch aluminum forming a disk for it and belt drive etc but no dust removal, I gave this one to a mate of forever who was making a full sized Fairground Organ. Also had a 22 inch steel precision Disk Sander I gave to another mate who is a pro wood floor layer and owns a busy floor sanding business. This part of the workshop is forty feet by 12 feet and was chock a block with machinery welders Band Saws so downsizing made a lot of sense.
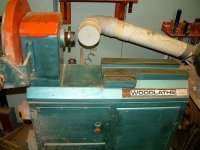
Looking carefully at the sander I then modified it to make it as efficient as I could saving the adjacent 14 inch on the outboard of a lathe and building a platform for the blue one on the lathe (Woodfast Short Bed 400). First run ofr the blue sander I noticed there was a small woop in the disk so I stripped the unit down.
The aluminium disk had a glued sandpaper which thanks to two suggestions on this forum I was able to remove in short order, Using a normal heat gun heated the front of the disk it peeled within 5 minutes then took a half hour using brake cleaner in a pressure can to remove the glue.
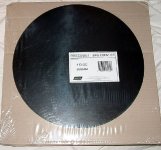
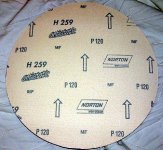
Using a sheet of glass I glued forever 100 grit paper to it and then by hand spent nearly two hours gently flattening the disk. Then fitted the Velcro conversion an ultra thin black sheet with strong adhesive and a release paper one side and velcro hooks on the other (27 AU dollars ) choosing 120 grit fluffy backed Norton antistatic (important ) disk to enable quick changeovers. It is important in use to use only half the disk when sanding on the down turn of the disk the other half gives you a mild shower of very fine dust.
Removal of the aluminium disk that is fastened in the centre required useing two 5/32 screws 2 1/2 inches long in the two tapped holes one on each side of the shaft that after removing the centre allen headed screw press against the back plate and ease the plate off the motor shaft. The shaft is keyed to give the direct drive.
Replaced the disk the cover plate under the disk deflects the dust to a 35mm exit round piece from this I fitted a blue coloured flex pipe to my existing multi entry Dust Extractor details another day using plastic water pressure fittings. The cover screws were replaced with bolts and spring washers. Noticed the frame almost touched the disk one side on the cover removed a small shoulder there...The unit is heavy and mounted on four rubber feet isolated from the frame.(very handy IMHO0.
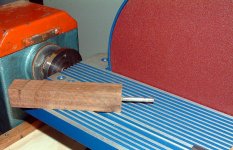
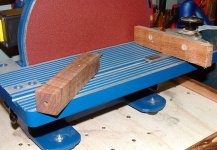
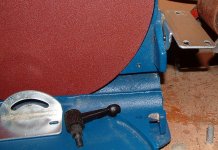
The front resting plate is held on with 6 c/sunk screws that allow firm fixing and two semi circular side brackets together making it a quick way to acheive right angles to the face of the disk and ensure parralel mounting for the sliding slot into which I fit a mitre guage that support a mandrel set in right angle all round to hold the blank to the mitre guage to flatten my blanks.
Cheers Peter.

