• Thanks for visiting The Penturners Forum today.

    There are many features and resources that currently you are unable to see or access, either because you're not yet registered, or if you're already registered, because you're not logged in.

    To gain full access to the forum, please log in or register now. Registration is completely free, it only takes a few seconds, and you can join our well established community of like-minded pen makers.

My Hercus 9 Restoration.

wm460

Grand Master
Joined
Mar 16, 2013
Posts
23,113
Location
Tennant Creek, Northern Territory, Australia.
First Name
Mark
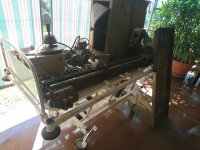
My Hercus 9 Restoration has finally started.

Finally got a nice cool day for a change, only 41°C. :whistling:

So I thought I would start cleaning up my Hercus 9 and try and keep the missus happy.
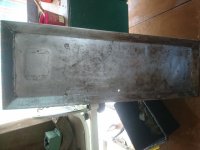
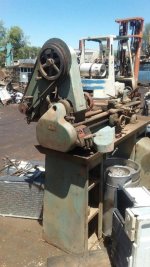
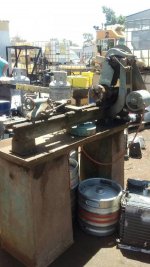
You might remember my thread about this lathe I saw advertised in Alice Springs at a recycling yard ( Alice is the closest town 500 Km away) in March last year, I only wanted the stand for my Hercus 260, but when I picked it up I found out it was an Hercus ARL.
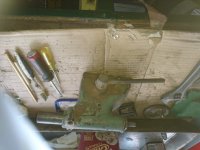
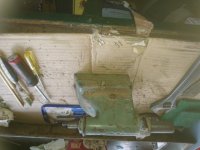
When I bought her home, I had to dismantle her to get her off the trailer and stacked the parts on an obsolete hospital bed, 6 month later I transferred to a different department at work so bought home my bench that I originally took there because it was too big for my shed.
For some reason the missus is keeps whinging about 2 lathes, a hospital bed and a bench on the back veranda, strange woman.
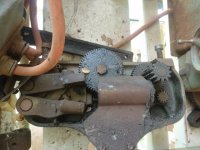
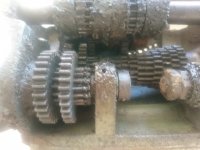
Messaging1520225984481.jpg Messaging1520225991098.jpg

DSC_2472 (Custom).JPG
 

Morse

Graduate Member
Joined
Dec 20, 2016
Posts
732
Location
Cheshire. UK
First Name
Dave
Flat bars and your hydraulic press. My guess.
You’ll do your usual expert restoration Mark. Keep the pictures coming.

Dave
 

Vic Perrin

Moderator
Executive Member
Joined
Feb 23, 2014
Posts
8,215
Location
Rugeley Staffs
First Name
Vic
What a great project Mark, looking forward to seeing how you progress with it. Keep the pictures coming! You should have no problem with paint drying when you get around to painting it with the weather you have down there :drool:
 

Phil Dart

Moderator
Executive Member
Joined
Nov 28, 2014
Posts
5,491
Location
Colebrooke, Devon
First Name
Phil
Yep, keep the piccies coming Mark. It would be great to see the work in progress as it happens.

You should have no problem with paint drying when you get around to painting it with the weather you have down there :drool:
The trick is to get the paint off the brush and onto the machine before it dries i guess:whistling:
 

wm460

Grand Master
Joined
Mar 16, 2013
Posts
23,113
Location
Tennant Creek, Northern Territory, Australia.
First Name
Mark
Yep, keep the piccies coming Mark. It would be great to see the work in progress as it happens.

Will do, but it will be a long job I reckon.:thinks:

The trick is to get the paint off the brush and onto the machine before it dries i guess:whistling:

That is a problem some times, I have had a paint brush sticking to tube as I tried to paint it.:rant:
 

wm460

Grand Master
Joined
Mar 16, 2013
Posts
23,113
Location
Tennant Creek, Northern Territory, Australia.
First Name
Mark
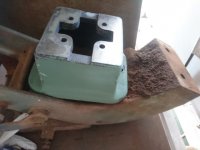
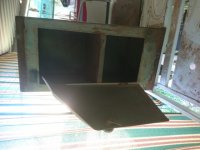
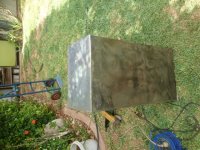
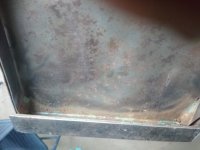
I attacked one side of the cabinet this morning cleaned of the paint and rust from the outside and underneath.

DSC_0174.JPG


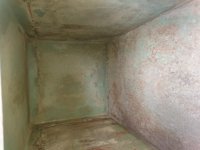
I was wondering how to cleaned up the corners etc, and the inside, I have been using an angle grinder with wirebrush.

My angle grinder are too big to fit inside the cabinet.

I dont have access to sand blasting equipment.


DSC_0201.JPG

DSC_0172.JPG
 

Dalboy

Executive Member
Joined
Mar 20, 2014
Posts
7,708
Location
Kent
First Name
Derek
Nice project Mark.

Clean the paint off of the outside of the tailstock to see if there any pins screws that are hidden by the paint. have you got a picture of the bottom of the tailstock (careful wording there as this is a family site)
 

wm460

Grand Master
Joined
Mar 16, 2013
Posts
23,113
Location
Tennant Creek, Northern Territory, Australia.
First Name
Mark
Nice project Mark.

Clean the paint off of the outside of the tailstock to see if there any pins screws that are hidden by the paint. have you got a picture of the bottom of the tailstock (careful wording there as this is a family site)

DSC_0152.JPG

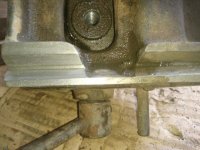
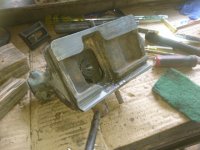
The grub screw you see at thge top of the T/S, there is one on either side to center the T/S to the Headstock.

DSC_0153.JPG

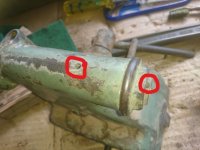
These two holes presumably oilers, are not threaded as I would have thought, doesnt appear that any thing has been knocked out/off.
There would have had to be something to stop swarf, dirt and crud getting tin there?:thinks:

InkedDSC_0154_LI.jpg
 

Dalboy

Executive Member
Joined
Mar 20, 2014
Posts
7,708
Location
Kent
First Name
Derek
Have you removed the two grub screws to see if that gives you more movement to remove the bottom section of the tailstock
 
Warning! This thread has not had any replies for over a year. You are welcome to post a reply here, but it might be better to start a new thread (and maybe include a link to this one if you need to).
Top