Penpal
Grand Master
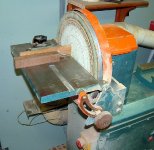
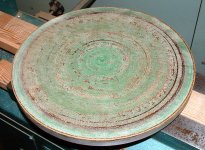
I dont use this lathe and was about to put it down. Decided to replace and modify the 14 inch Sanding disk mounted on the outboard end and engineer a shelf on the the bed lathe proper.
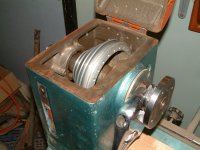
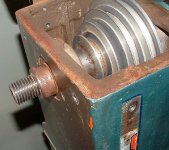
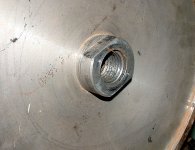
So far removed the disk and took the paper off using a heat blower, the disk was only held on by the thread so I drilled and tapped one flat surface at the back of the disk with a 6mm tap and will use a sixmm allen screw when its mounted to anchor it in place. I found the preload locknut was too tight (intended to fit new bearings not needed now).
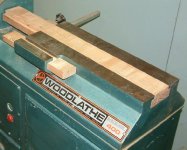
Using the bed slots prepared them to anchor an 18mm plywood shelf to accomodate a 305mm disk sander I have had for a yr or two not used yet. Fitted a Velcro conversion to that one and will use a 120mm disk so it will give me side by side 80 grit on the 14 inch and 120mm on the the 12 inch unit.
Relocating a double ended grinder nearby more building to go on that mounted on an old 1 inch thick steel base from a metal mill I picked up for cheap twenty years ago I like to freehand sharpen my chisels
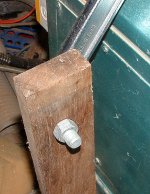
To remove the tension on the 14 inch unit to give me two free hands I bolted a huge adjustable spanner ( piscs enclosed) adjust the tension so it spins free now.
Drilled tapped the flat on the disk on the 14 inch to lock it in place and thanks for the forum help using my heat gun freed the old disk sand paper in a few minutes.
Progress pics as I conclude this.
Peter.


 Vic
Vic