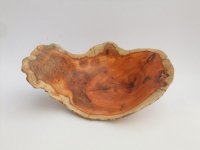
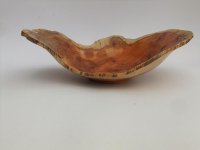
Seeing Pierre's WIP I thought I would follow suit and attempt one as well with some yew this could all end in tears.
I was having a sort out of the area between my wood store and the garden tool shed and found some logs which I had not converted luckily they have all been covered and the sun does not hit that spot.
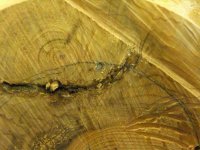
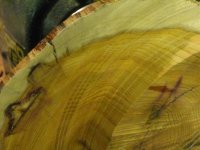
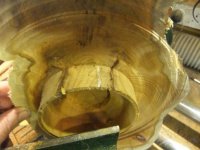
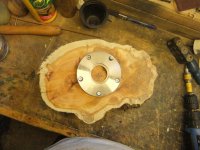
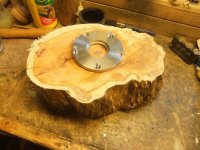
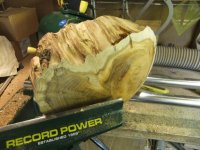
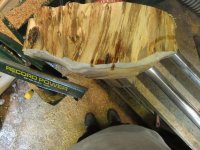
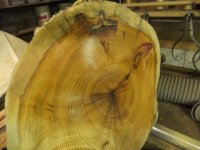
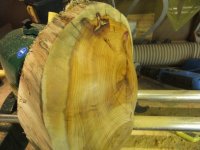
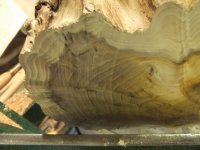
Anyway I found a couple of pieces of Yew and one of them cried out to be turned so out with the chainsaw and cut it into two blanks but instead of the cross grain I have gone with end grain. First picture shows the log before chainsaw attack. Then the first half having the faceplate attached first use of this plate had to go for a cuppa battery on the drill ran out once charged enough to drive in the last screws.
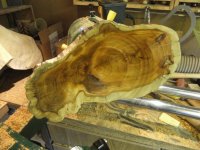
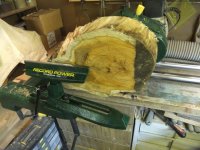
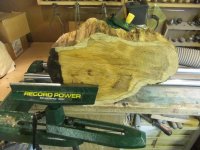
Mounted this in the chuck jaws and done some turning of the outside I then decided that the best bet was to hand sand with my discs mounted in the cordless drill which by this time was fully charged and a quick coat of sander sealer. Hopefully turn the blank around tomorrow after I have cut the chucking point which will be the foot as well.
Attachments
-
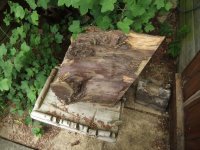 DSCF7404 (1024x768).jpg90.2 KB · Views: 73
 -
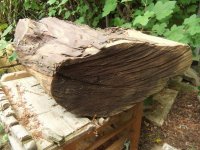 DSCF7406 (1024x768).jpg97.1 KB · Views: 76
 -
 DSCF7410 (1024x768).jpg69 KB · Views: 72
 -
 DSCF7414 (1024x768).jpg76.1 KB · Views: 70
 -
 DSCF7418 (1024x768).jpg72.7 KB · Views: 72
 -
 DSCF7420 (1024x768).jpg74.6 KB · Views: 71
 -
 DSCF7421 (1024x768).jpg72.6 KB · Views: 72
 -
 DSCF7422 (1024x768).jpg79.6 KB · Views: 71


 .
.