Pierre
Fellow
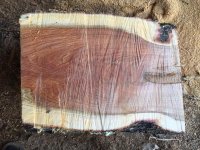
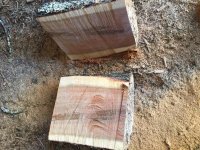
A friend of mine lost an almond tree in one of the recent storms, he called me up and asked if I wanted the wood; by the time he had removed his arm from my teeth I was there with the tractor and after many grunts and heaves I ended up with 6 large sections of trunk each one weighing about 30 kilos!! I have now cut some in half and what a beautiful grain.
Anyway with so much of the wood I thought I would try and post a work in progress (WIP) mainly for those who have never tried a big piece before, and so here goes:
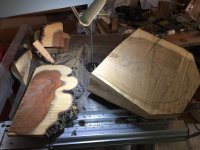
First cut a piece to rough shape on the band saw (keep on looking and admiring that grain):
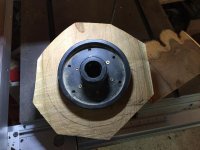
Next attach the face plate with 6 screws:
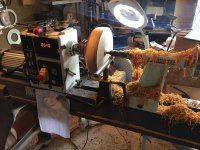
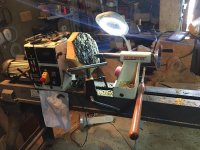
Then attach it to the lathe, don't forget to bring up the tail stock it saves you getting a face removal later on
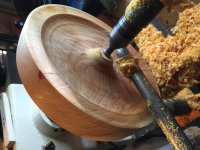
Use the biggest bowl gouge you have to rough out the shape:
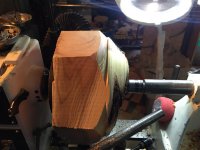
Don't turn too fast else the lathe will walk away, mine weighs 200 kilos and at 400 rpm that 'little' out of shape (now 5kg) bowl blank tried to make it walk
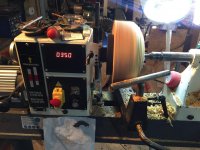
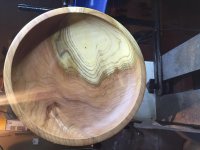
When the thumping stops its such a relief and you can now increase the speed. The shape of the bowl has so far been decided by the wood and I'm hoping that it will com out as a 'Tazza' shape fruit bowl, but keeping in mind that the wood is still complete green it will probably warp, but then if its any good I shall be entering into the J-F Escoulen open day competition next week, since the theme is movement.


Anyway with so much of the wood I thought I would try and post a work in progress (WIP) mainly for those who have never tried a big piece before, and so here goes:
First cut a piece to rough shape on the band saw (keep on looking and admiring that grain):

Next attach the face plate with 6 screws:

Then attach it to the lathe, don't forget to bring up the tail stock it saves you getting a face removal later on


Use the biggest bowl gouge you have to rough out the shape:

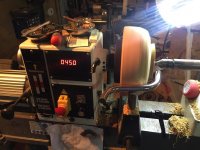
Don't turn too fast else the lathe will walk away, mine weighs 200 kilos and at 400 rpm that 'little' out of shape (now 5kg) bowl blank tried to make it walk

When the thumping stops its such a relief and you can now increase the speed. The shape of the bowl has so far been decided by the wood and I'm hoping that it will com out as a 'Tazza' shape fruit bowl, but keeping in mind that the wood is still complete green it will probably warp, but then if its any good I shall be entering into the J-F Escoulen open day competition next week, since the theme is movement.


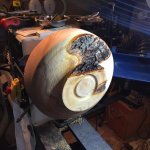

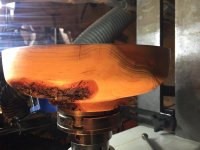
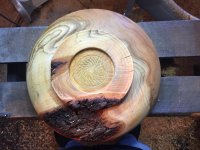
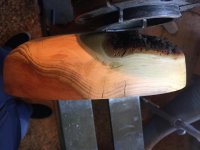
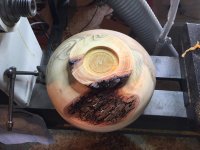
 Normally a nice piece of timber is bootiful.... you find the grain, you see the opportunity to keep some bark for the rustic bit, you glue the edges to stop the bark leaping off into the nice self ventilating face mask and you continue turning; You finish the foot and make a nice design in the chucking point... then you notice that despite all of the sanding sealer it's still raising the grain in the sapwood but less in the heart wood; nevertheless it worked on the last piece of oak, it should work here; you sand and sand and apply sealer (not to sand for sealing but to slow the evaporation of the sap which will create the cracks!!!
  ) Those aren't tool marks on the foot, they are raising of the grain where the tool has pushed with the bevel and compressed after cutting , squeezing out the sap and so you have differential drying, it starts off dead smooth and in 5 minutes it shows concentric rings which are smooth to the touch but obvious in light, they go after a while (but can come back).
 )
)