Apologies if anyone has read this elsewhere, I posted in on another forum to help a chap who is restoring a Meddings pillar drill, this is how I went about doing mine.
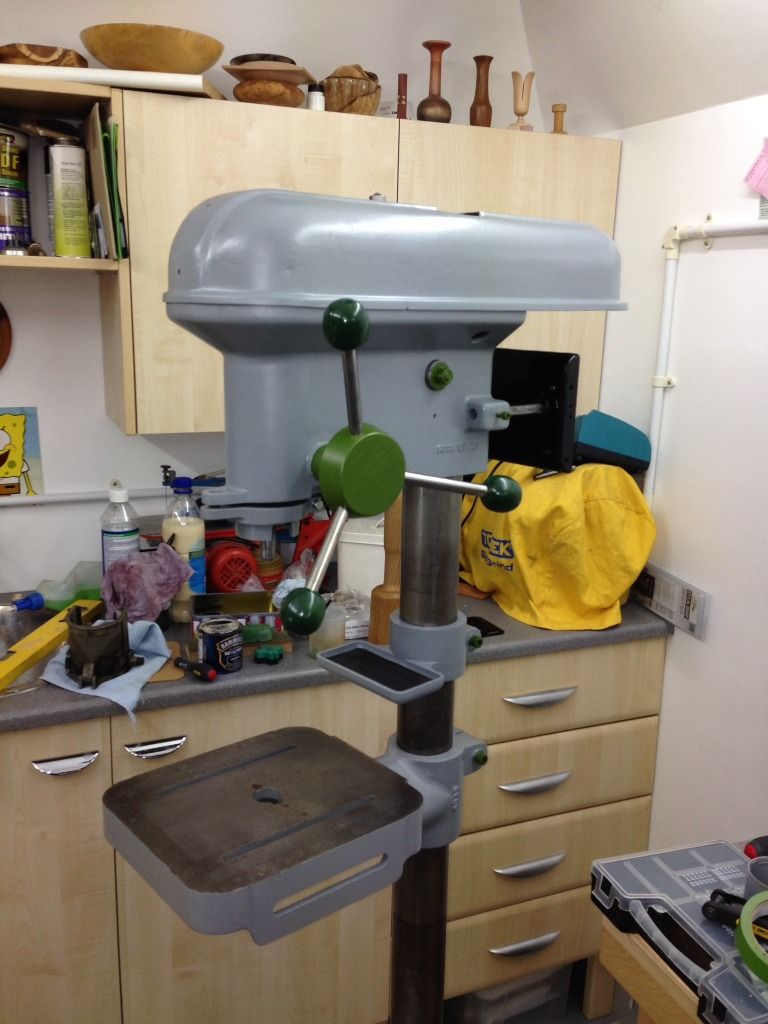
Pick up this poor old tired drill earlier this year
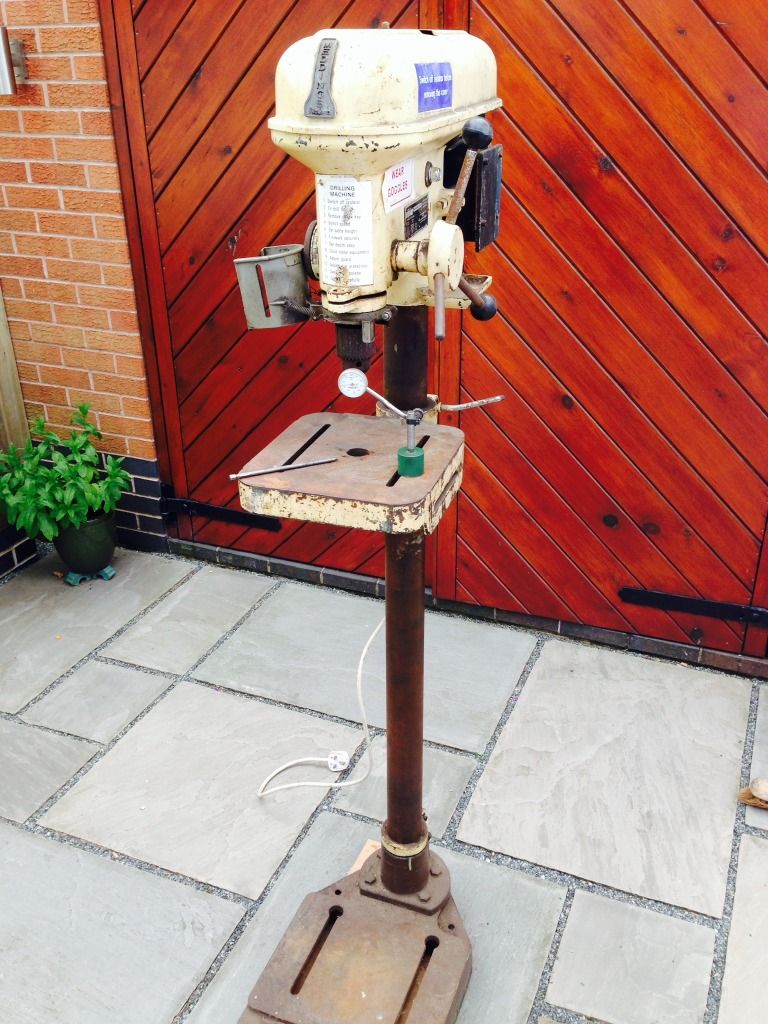
It was pretty grimed up & looked to have had a hard life which included at some point someone painting it cream, but it had very little run out so I thought it would be worth cleaning up. It was single phase though for some reason didn't have an on off switch, it must have been a case of plugging it in to get it to work, not really a problem as I want 3 phase & have managed to pick up a matching 3 phase motor.
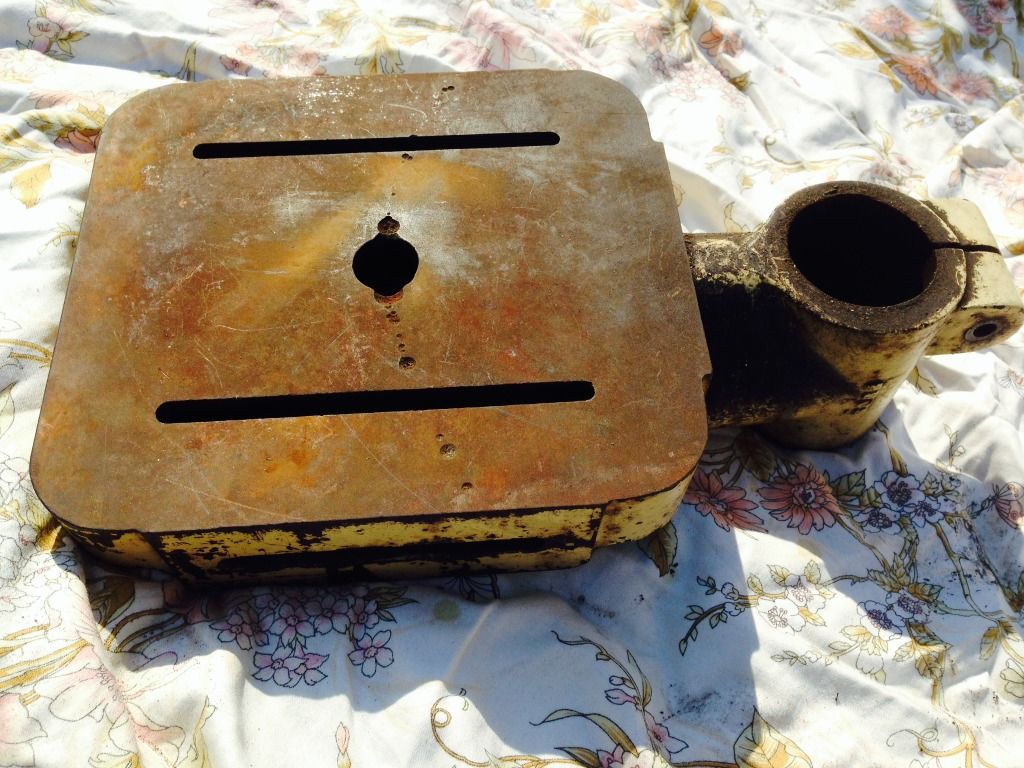
I started by dismantling all the parts & getting them dipped to remove all the grot & grime, this picture shows an example the amount of rust & grime that was on the drill when I got it.
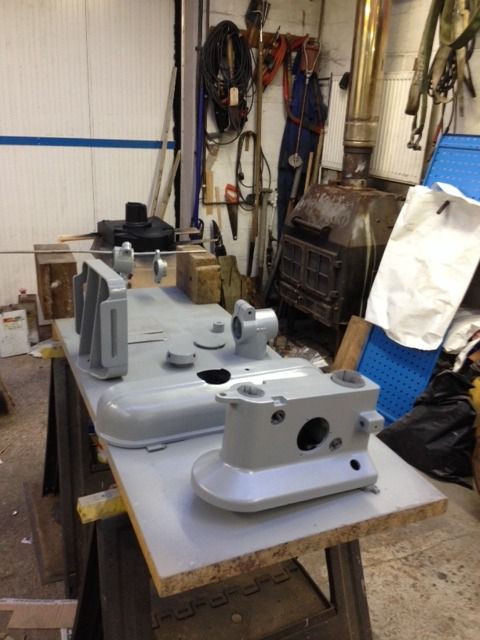
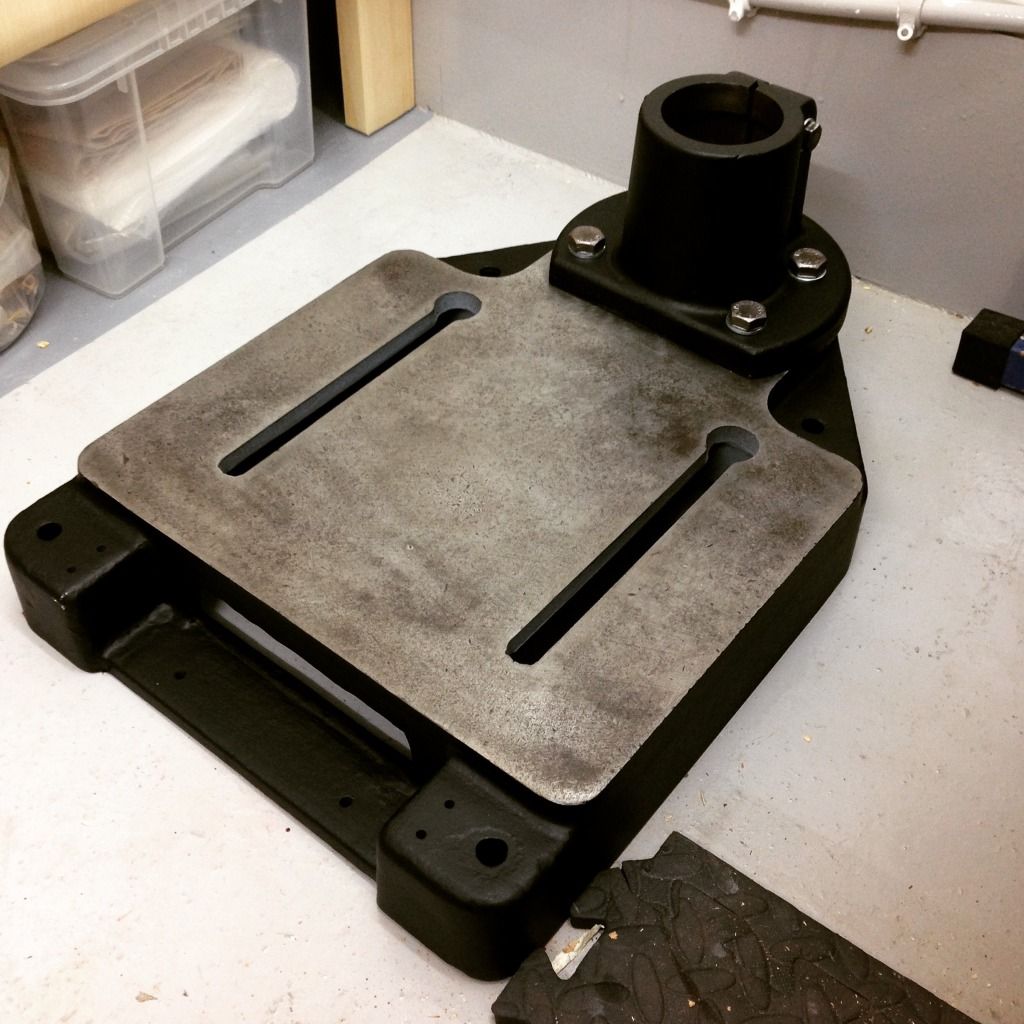
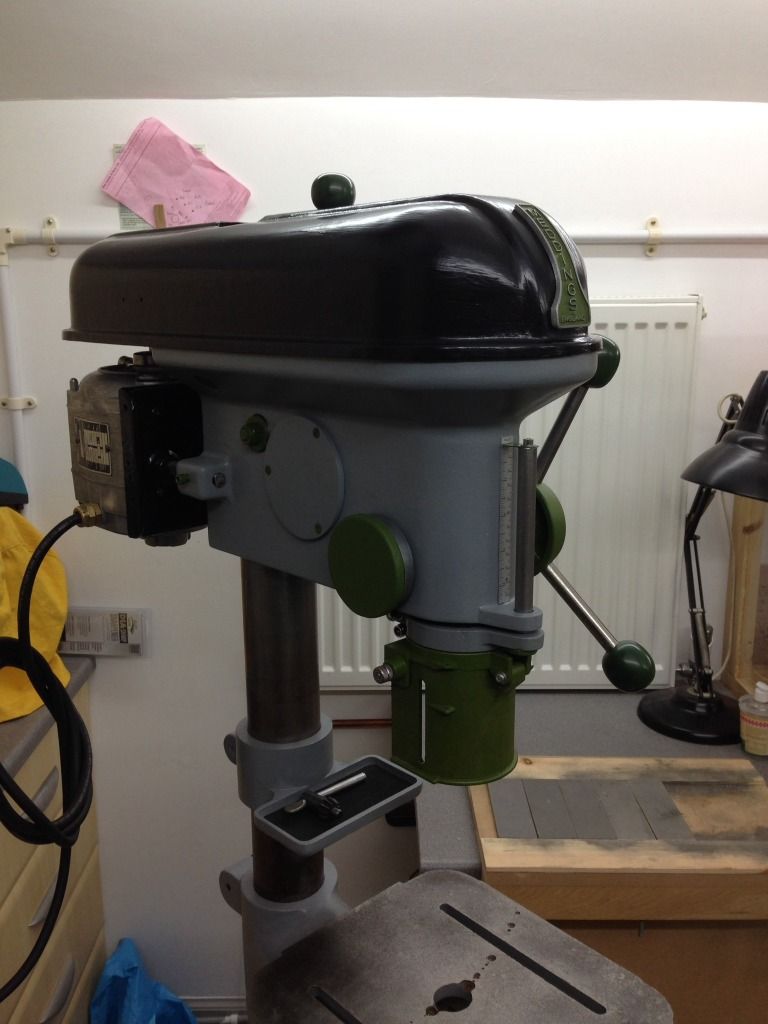
It took about 5 hours to sand all the main parts & spray them, the base & pillar clamp are the black pieces in the background.
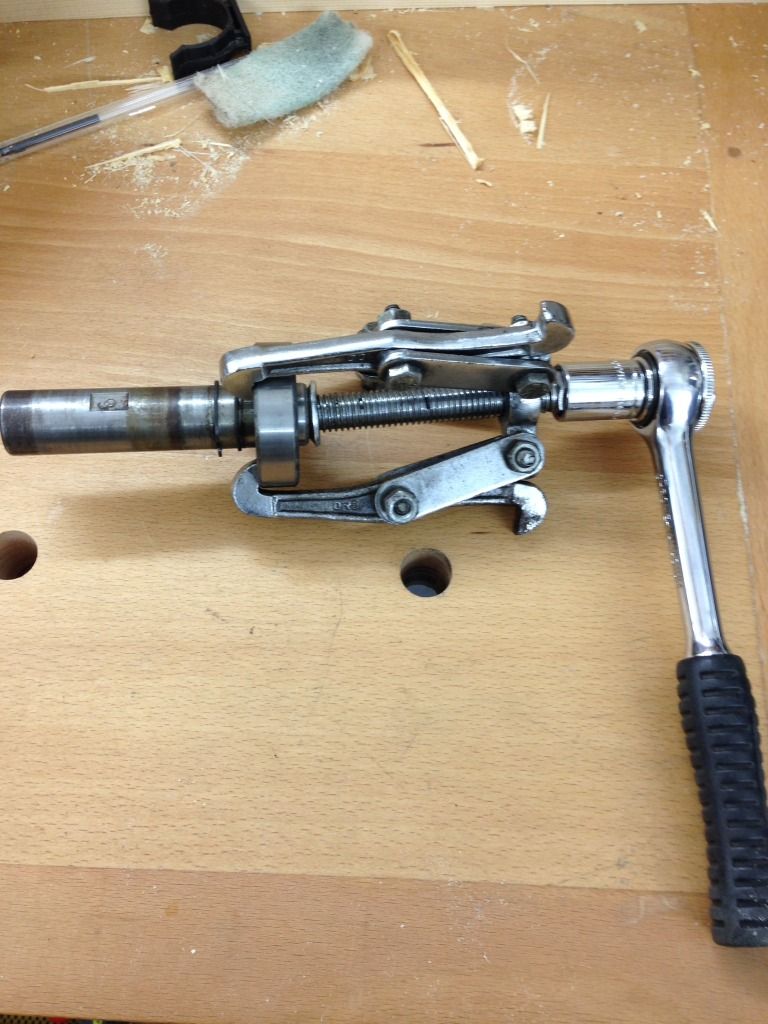
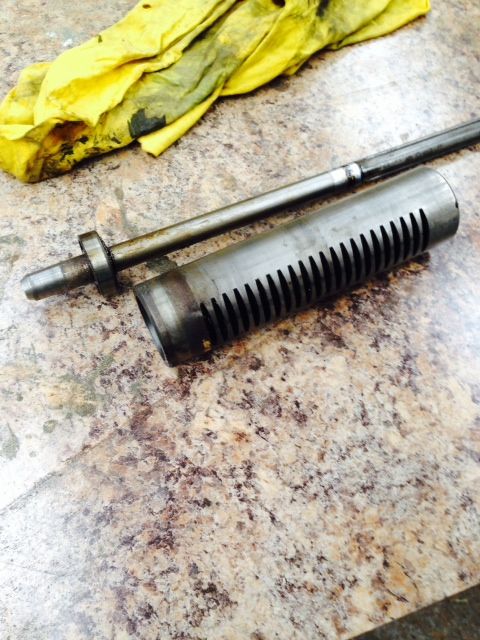
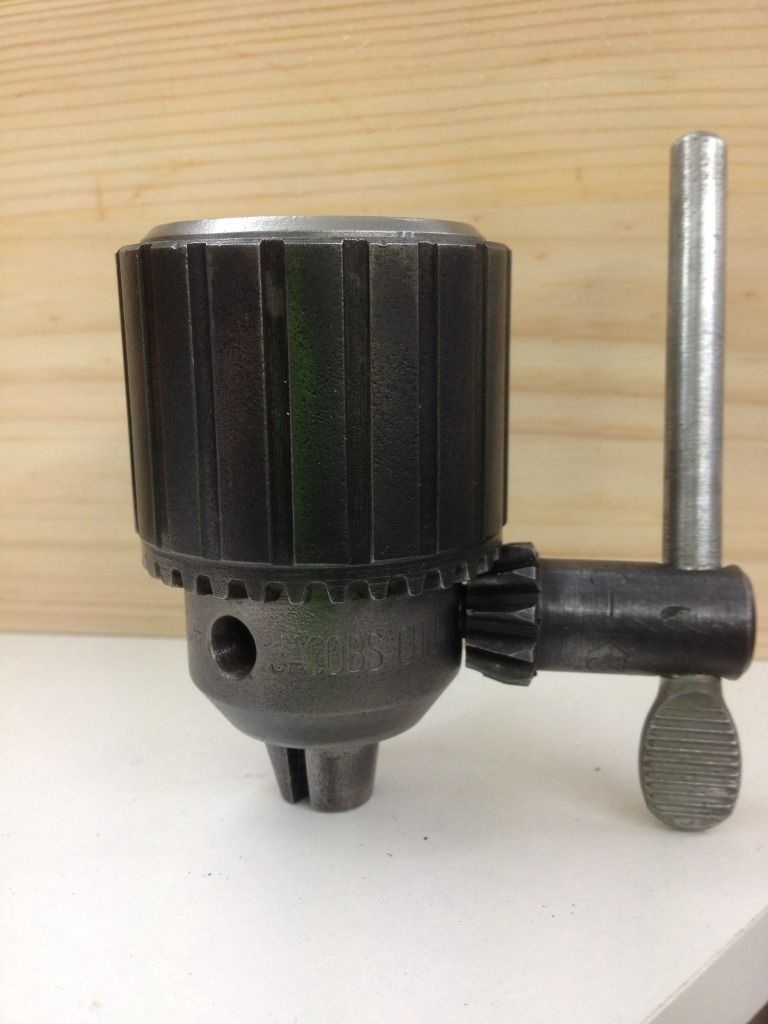
After painting the body I started on removing bearings this little gizmo made short work of removing the top bearings, borrowed from a mechanic friend.
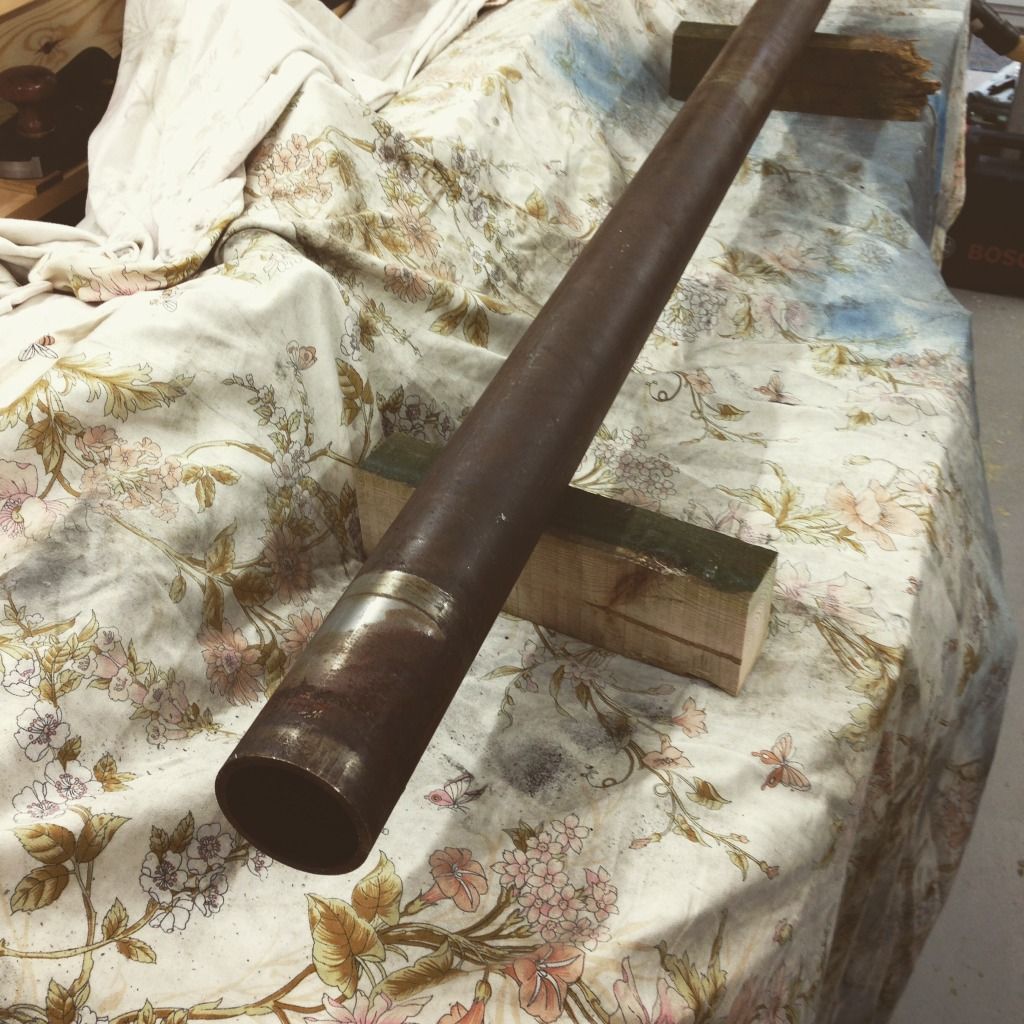
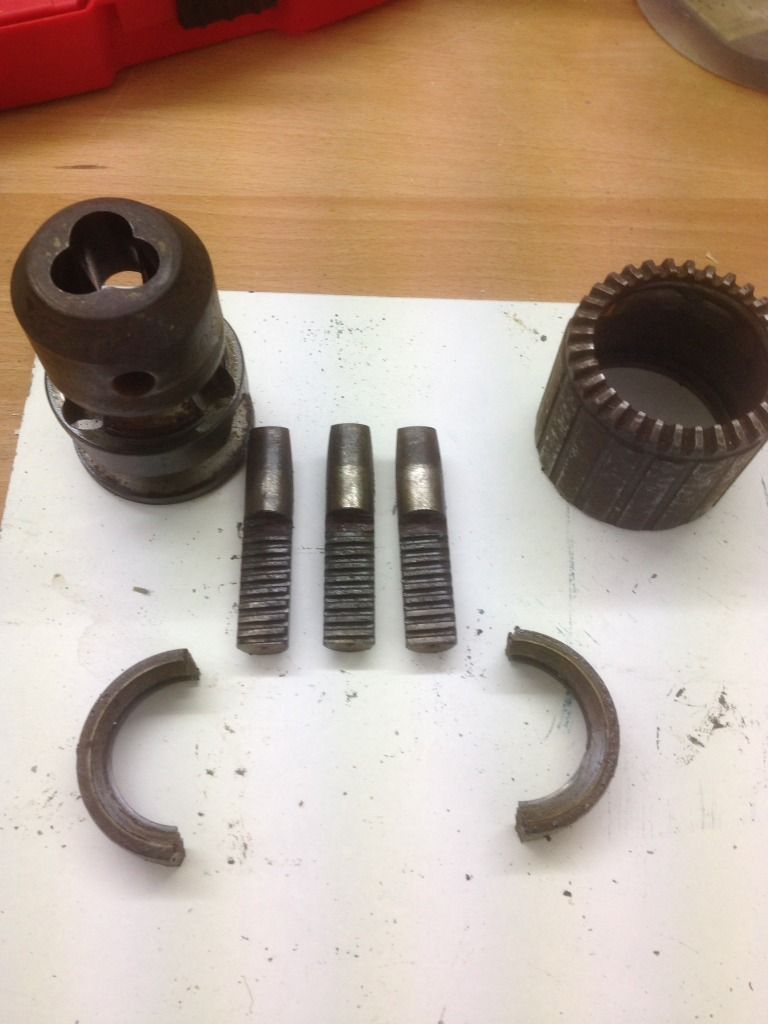
This is the quill assembly with the top & bottom circlips removed & the shaft knocked out from the top
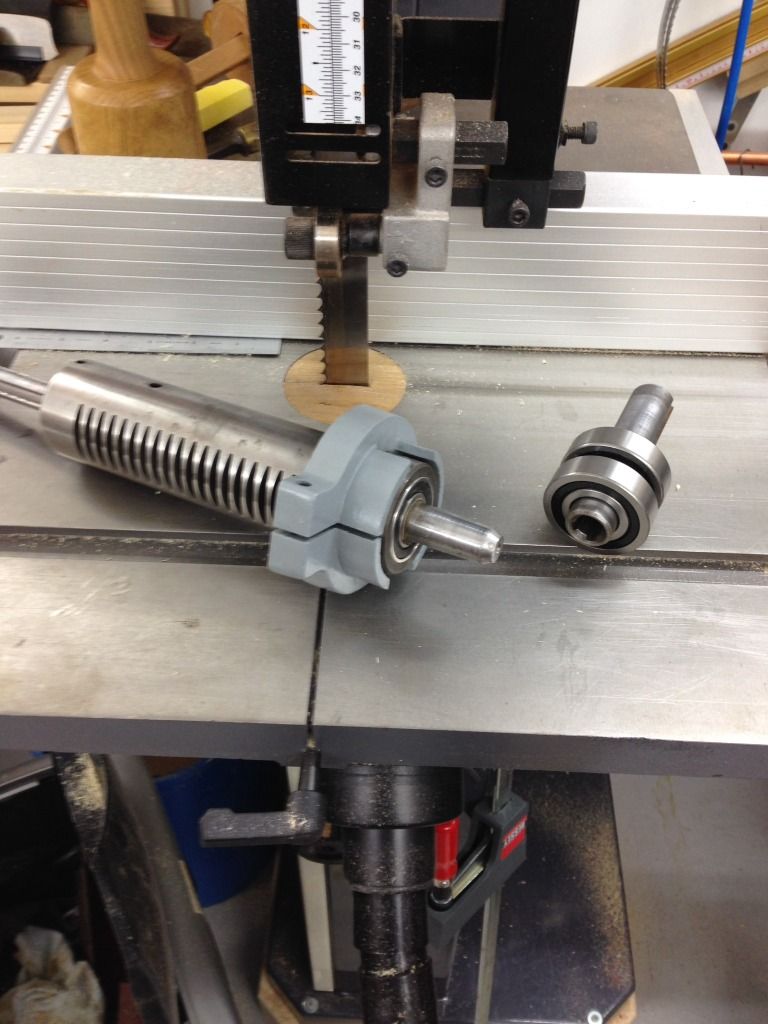
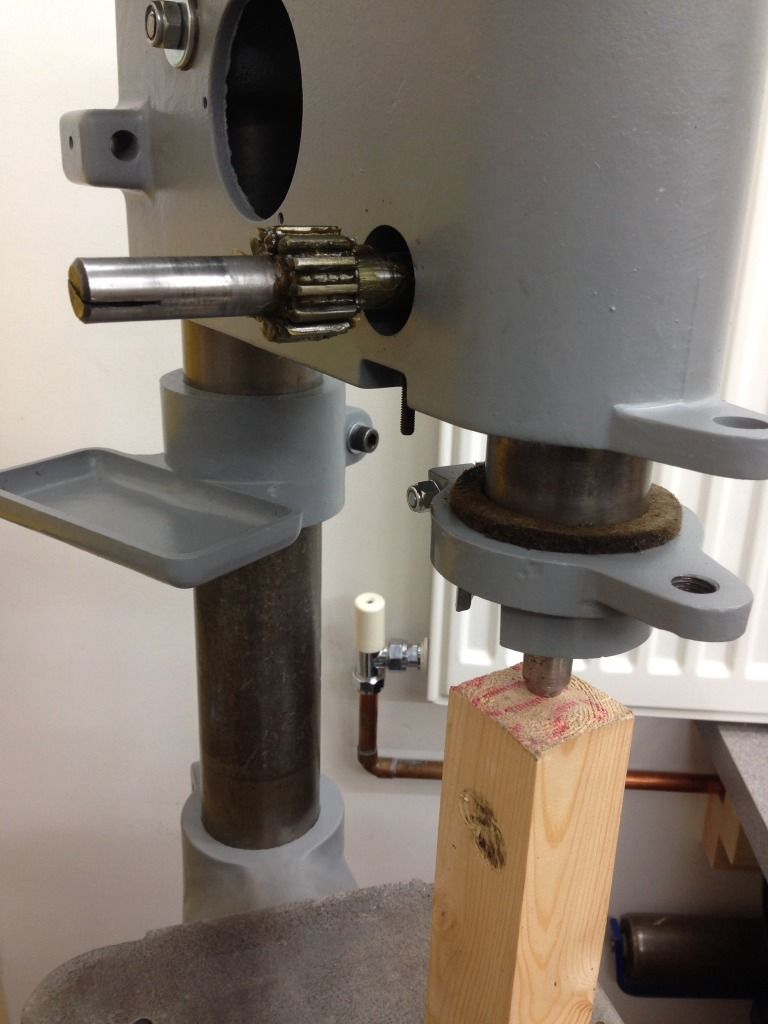
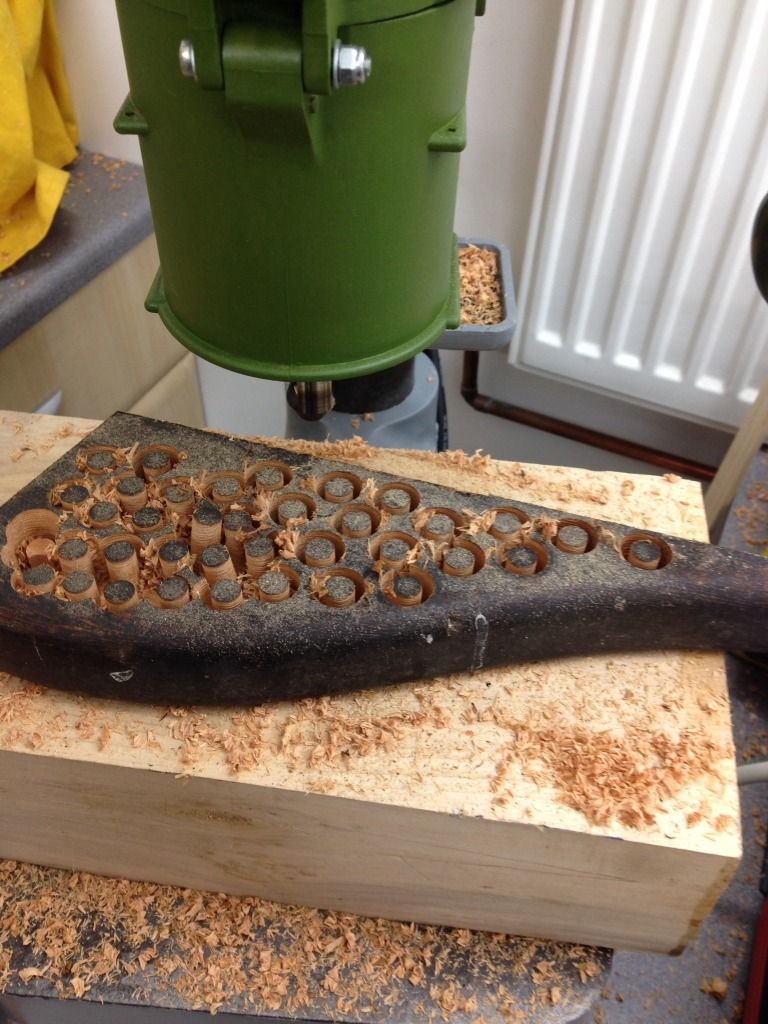
It was then over to the lathe to turn a block to be able to knock the new bearings on.
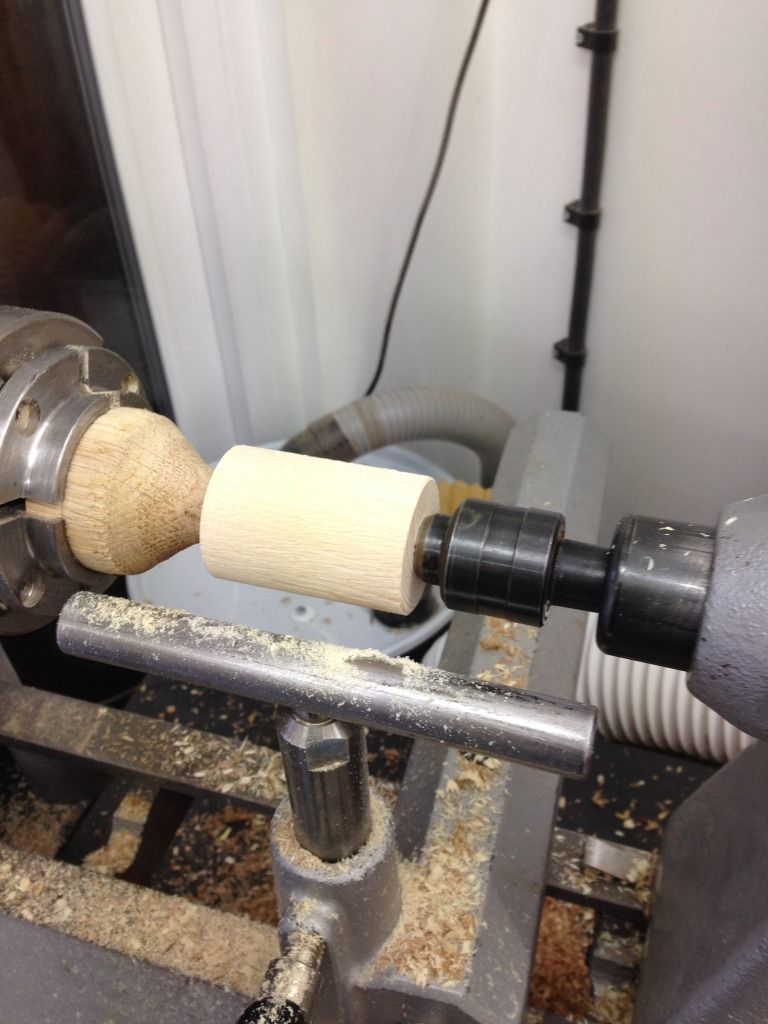
This worked for the bottom bearing but another block of wood needed to be drilled for the top bearing.
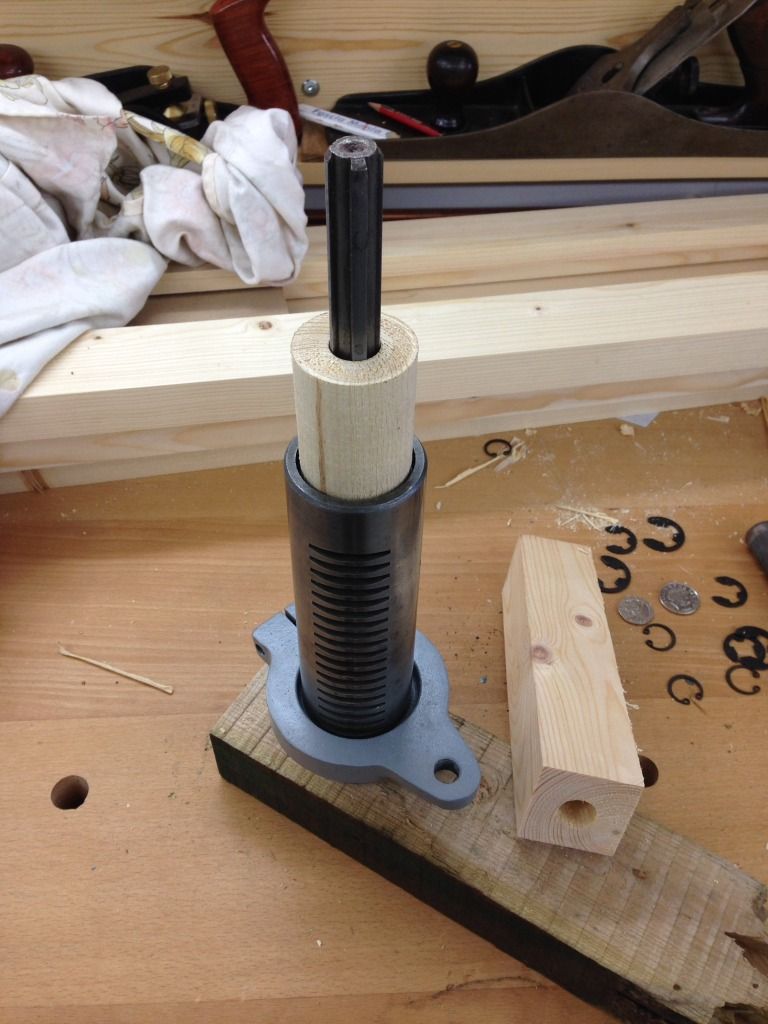
This is the top & bottom bearing assemblies ready for refitting.
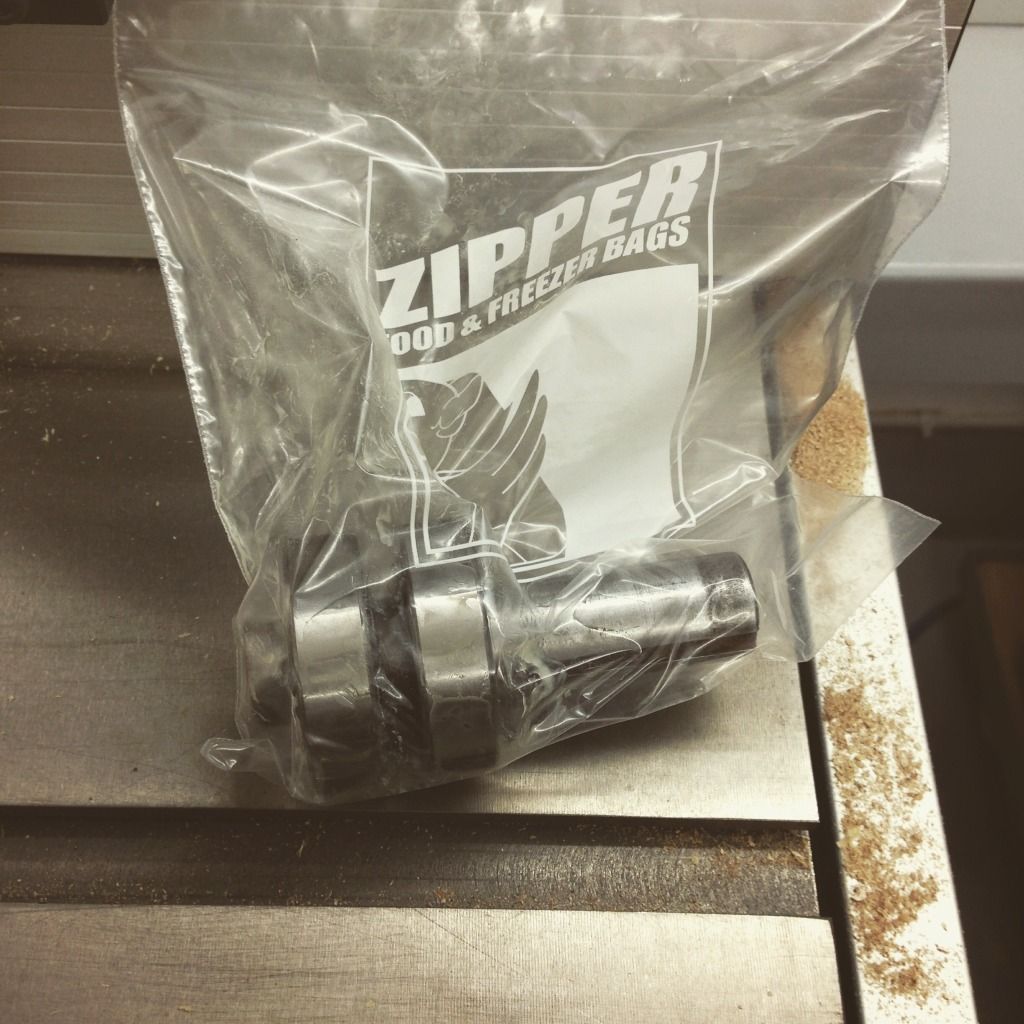
A great tip I picked up was to put items in the freezer over night to aid getting bearings on or in components, this is the top assembly ready for the freezer.
& this is it back in the main body of the drill.
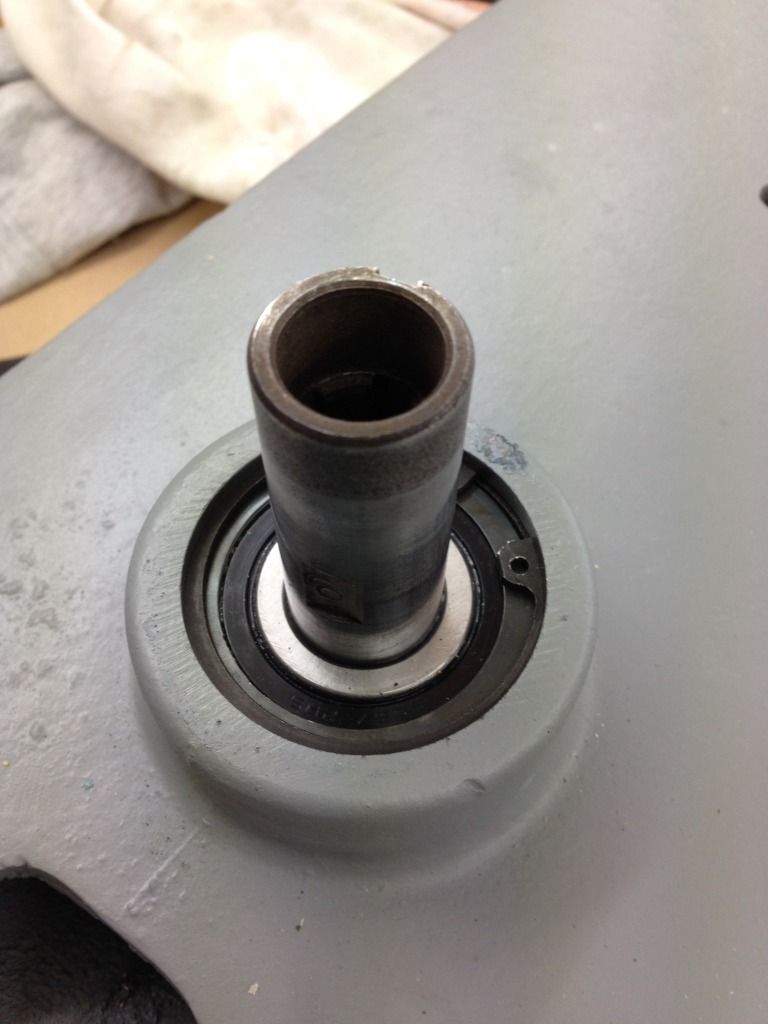
It really did go in quite easily after a night in the cold.
Pick up this poor old tired drill earlier this year
It was pretty grimed up & looked to have had a hard life which included at some point someone painting it cream, but it had very little run out so I thought it would be worth cleaning up. It was single phase though for some reason didn't have an on off switch, it must have been a case of plugging it in to get it to work, not really a problem as I want 3 phase & have managed to pick up a matching 3 phase motor.
I started by dismantling all the parts & getting them dipped to remove all the grot & grime, this picture shows an example the amount of rust & grime that was on the drill when I got it.
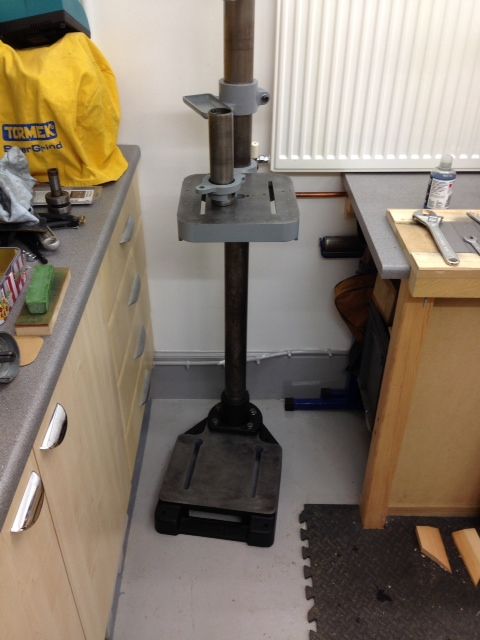
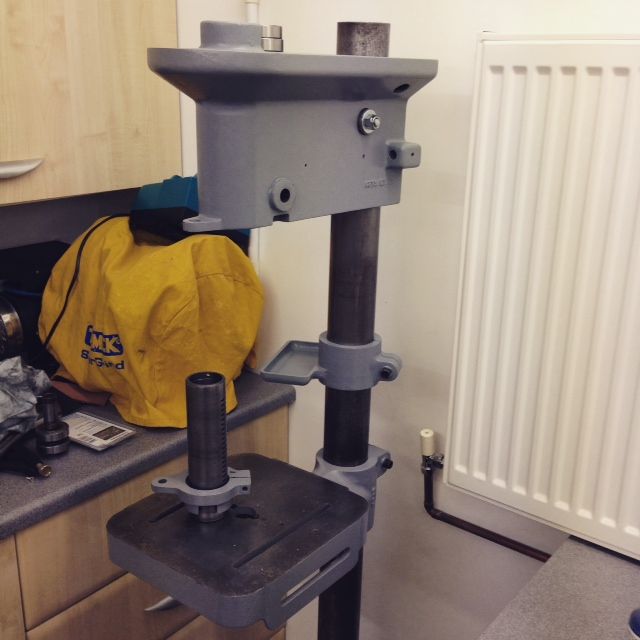
It took about 5 hours to sand all the main parts & spray them, the base & pillar clamp are the black pieces in the background.
After painting the body I started on removing bearings this little gizmo made short work of removing the top bearings, borrowed from a mechanic friend.
This is the quill assembly with the top & bottom circlips removed & the shaft knocked out from the top
It was then over to the lathe to turn a block to be able to knock the new bearings on.
This worked for the bottom bearing but another block of wood needed to be drilled for the top bearing.
This is the top & bottom bearing assemblies ready for refitting.
A great tip I picked up was to put items in the freezer over night to aid getting bearings on or in components, this is the top assembly ready for the freezer.
& this is it back in the main body of the drill.
It really did go in quite easily after a night in the cold.


 :up::bravo::bravo:

