• Thanks for visiting The Penturners Forum today.

    There are many features and resources that currently you are unable to see or access, either because you're not yet registered, or if you're already registered, because you're not logged in.

    To gain full access to the forum, please log in or register now. Registration is completely free, it only takes a few seconds, and you can join our well established community of like-minded pen makers.

The 7.62 and how I did it.

paulm

grave manibus faciendum
Registered
Joined
Oct 7, 2013
Posts
12,046
Location
Sandford
First Name
Paul
I start with apologies for the quality of some of the photos. I took a point and click camera up to the shed and the autofocus didn't focus on what I expected it too and with my mask on it was difficult to tell. Anyway excuses over here we go.

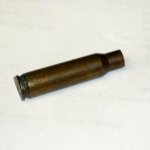
1. First of all I started with a spent 7.62 Nato round which was supplied by Alex. These rounds used to be used in the SLR and GPMG but since the SLR was phased out it is not only used in the GPMG (General Purpose Machine Gun.

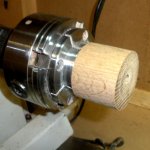
2. With a spare piece of wood drill a 11.5mm hole to hold the casing
 

Attachments

  • 1.jpg
    1.jpg
    60.6 KB · Views: 166
  • 2.jpg
    2.jpg
    89.5 KB · Views: 168

paulm

grave manibus faciendum
Registered
Joined
Oct 7, 2013
Posts
12,046
Location
Sandford
First Name
Paul
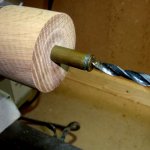
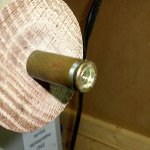
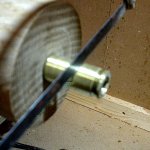
3. Drill a 7mm hold in the end of the casing where the primer was
 

Attachments

  • 3.jpg
    3.jpg
    85.8 KB · Views: 168
  • 4.jpg
    4.jpg
    134.4 KB · Views: 167

paulm

grave manibus faciendum
Registered
Joined
Oct 7, 2013
Posts
12,046
Location
Sandford
First Name
Paul
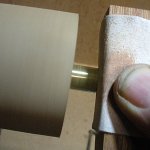
5. Cut the end off the casing about 12mm from the end. I used a junior hacksaw to do this
6. Sand the ends to remove rough bits.
 

Attachments

  • 5.jpg
    5.jpg
    125.3 KB · Views: 165
  • 6.jpg
    6.jpg
    93.3 KB · Views: 164

paulm

grave manibus faciendum
Registered
Joined
Oct 7, 2013
Posts
12,046
Location
Sandford
First Name
Paul
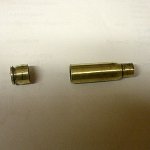
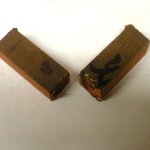
7. You should now have your two pieces of bullet
 

Attachments

  • 7.jpg
    7.jpg
    92.3 KB · Views: 166

paulm

grave manibus faciendum
Registered
Joined
Oct 7, 2013
Posts
12,046
Location
Sandford
First Name
Paul
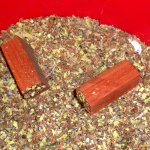
8. Prepare a blank as if for the slimline pen (7mm) but leave it a few mm longer than normal as we won't be putting a centre band on.
9. I don't know if anyone else does this but I save some sawdust and shavings and when the tube is glued into the blank with superglue, I dunk it in the shavings and it goes off straight away, better than any accelerator. (I diversify)
 

Attachments

  • 8.jpg
    8.jpg
    188.5 KB · Views: 162
  • 9.jpg
    9.jpg
    77.5 KB · Views: 161

paulm

grave manibus faciendum
Registered
Joined
Oct 7, 2013
Posts
12,046
Location
Sandford
First Name
Paul
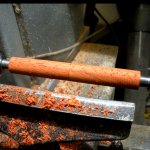
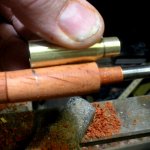
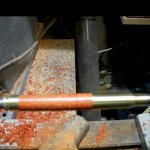
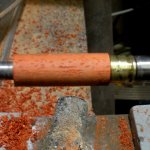
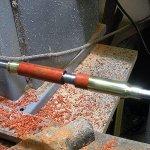
10. Turn the blank until its round
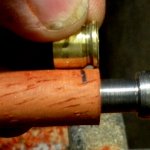
11. Mark the blank at the point where the fat part of the tube tapers down to the nib end.
 

Attachments

  • 10.jpg
    10.jpg
    114.2 KB · Views: 162
  • 11.jpg
    11.jpg
    104.3 KB · Views: 162

paulm

grave manibus faciendum
Registered
Joined
Oct 7, 2013
Posts
12,046
Location
Sandford
First Name
Paul
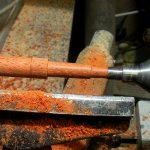
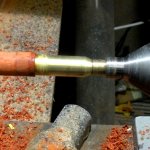
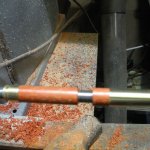
11. turn that down to the size of the hole at the nib end and then mark the full length of the nib part and turn that to the size of the hole.
 

Attachments

  • 13.jpg
    13.jpg
    114.2 KB · Views: 162
  • 12.jpg
    12.jpg
    86 KB · Views: 161

paulm

grave manibus faciendum
Registered
Joined
Oct 7, 2013
Posts
12,046
Location
Sandford
First Name
Paul
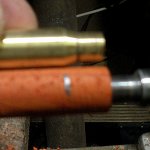
Fit the cartridge over the blank. This can be a press fit or glued.
 

Attachments

  • 14.jpg
    14.jpg
    114 KB · Views: 161

paulm

grave manibus faciendum
Registered
Joined
Oct 7, 2013
Posts
12,046
Location
Sandford
First Name
Paul
This part of the blank can now be put to one side.

Mark the next blank for the depth of the brass at the primer end. Turn this back to the brass tube to go through the hole and then mark the length of the end all together.
 

Attachments

  • 15.jpg
    15.jpg
    80.9 KB · Views: 125
  • 16.jpg
    16.jpg
    121 KB · Views: 127

paulm

grave manibus faciendum
Registered
Joined
Oct 7, 2013
Posts
12,046
Location
Sandford
First Name
Paul
Turn and fit the end to the blank by gluing or press fit and put both pieces back on the lathe.
 

Attachments

  • 18.jpg
    18.jpg
    105 KB · Views: 125
  • 17.jpg
    17.jpg
    108.7 KB · Views: 125

paulm

grave manibus faciendum
Registered
Joined
Oct 7, 2013
Posts
12,046
Location
Sandford
First Name
Paul
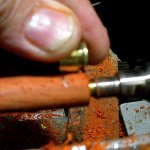
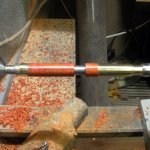
Turn the ends together and sand. Then turn the ends around if using ca to finish so as not to glue the ends together and polish.
 

Attachments

  • 19.jpg
    19.jpg
    114.7 KB · Views: 123
  • 20.jpg
    20.jpg
    111.7 KB · Views: 124

paulm

grave manibus faciendum
Registered
Joined
Oct 7, 2013
Posts
12,046
Location
Sandford
First Name
Paul
Polish the wood with burnishing cream (or whatever) and polish the brass with brasso and a coat of Ruskins metal lacquer.

Grind a bit at the top for the clip to fall over the edge otherwise it is too wide and forces it to stick out.
 

Attachments

  • 22.jpg
    22.jpg
    174.9 KB · Views: 125
  • 23.jpg
    23.jpg
    57.6 KB · Views: 123

paulm

grave manibus faciendum
Registered
Joined
Oct 7, 2013
Posts
12,046
Location
Sandford
First Name
Paul
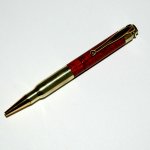
And that's it. put on the fittings and take a photo
 

Attachments

  • 24.jpg
    24.jpg
    58.4 KB · Views: 125
Warning! This thread has not had any replies for over a year. You are welcome to post a reply here, but it might be better to start a new thread (and maybe include a link to this one if you need to).
Top