• Thanks for visiting The Penturners Forum today.

    There are many features and resources that currently you are unable to see or access, either because you're not yet registered, or if you're already registered, because you're not logged in.

    To gain full access to the forum, please log in or register now. Registration is completely free, it only takes a few seconds, and you can join our well established community of like-minded pen makers.

The making of the latest project

Dalboy

Executive Member
Joined
Mar 20, 2014
Posts
7,720
Location
Kent
First Name
Derek
I have started this new post rather than fill up the other thread with this making of a OOOPs near let it slip

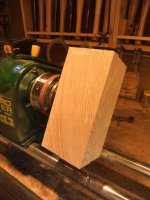
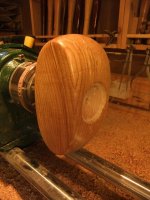
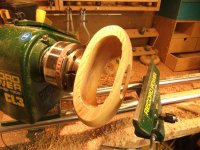
Dug out a piece of ash still wet, yes I will be making this from wet wood put it through the surface planer and thicknesser I need the starting piece to be nice and square for the marking out.
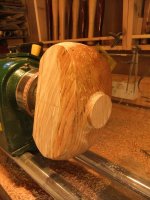
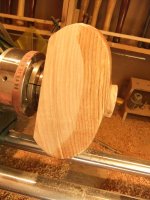
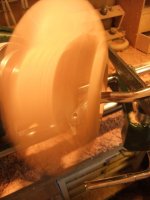
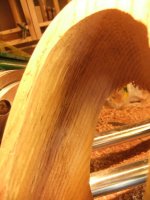
Marked it out and mounted it on the lathe started to turn then sanded the area done sealed with hard wax oil. Ready for turning around and remounting to do the top.
 

Attachments

  • DSCF4796.jpg
    DSCF4796.jpg
    62.3 KB · Views: 87
  • DSCF4797.jpg
    DSCF4797.jpg
    68.3 KB · Views: 86
  • DSCF4799.jpg
    DSCF4799.jpg
    68.2 KB · Views: 86

Dalboy

Executive Member
Joined
Mar 20, 2014
Posts
7,720
Location
Kent
First Name
Derek
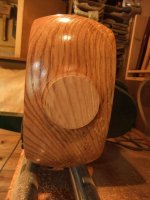
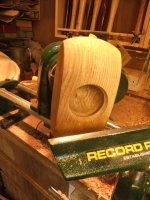
A little more of a tease, the foot will eventually be removed. Do you think I should start a new thread for this one
 

Attachments

  • DSCF4800.jpg
    DSCF4800.jpg
    56 KB · Views: 86
  • DSCF4801.jpg
    DSCF4801.jpg
    66.2 KB · Views: 86

Dalboy

Executive Member
Joined
Mar 20, 2014
Posts
7,720
Location
Kent
First Name
Derek
Looking forward to seeing how this ends up

Thanks Vic

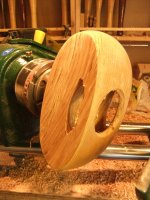
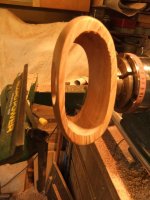
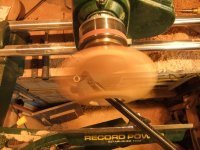
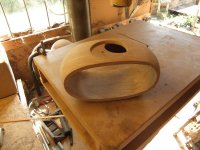
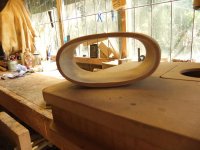
I am only posting at this time as I am having a cuppa coffee. Anyway this is as far as I have managed to get today. Hollowed out the inside, OOps was that meant to come out of the side:goesred:.
I had to recut some of the outside as I moved the rest and hit the wood so a little touch up with the chisel to make good.
 

Attachments

  • DSCF4820.jpg
    DSCF4820.jpg
    41.5 KB · Views: 84
  • DSCF4819.jpg
    DSCF4819.jpg
    73.5 KB · Views: 85
  • DSCF4818.jpg
    DSCF4818.jpg
    74.7 KB · Views: 85
  • DSCF4821.jpg
    DSCF4821.jpg
    88.1 KB · Views: 84
  • DSCF4822.jpg
    DSCF4822.jpg
    56.2 KB · Views: 85
  • DSCF4823.jpg
    DSCF4823.jpg
    62.1 KB · Views: 84

Dalboy

Executive Member
Joined
Mar 20, 2014
Posts
7,720
Location
Kent
First Name
Derek
Cleaning up the inside and most of the sanding done. Also foot Taken off nearly ready for the finish and then onto the next part.
 

Attachments

  • DSCF4825.jpg
    DSCF4825.jpg
    78.2 KB · Views: 84
  • DSCF4829.jpg
    DSCF4829.jpg
    67.2 KB · Views: 83
  • DSCF4831.jpg
    DSCF4831.jpg
    64.9 KB · Views: 83

Jimjam66

Chief Battonager
Registered
Joined
Jan 27, 2013
Posts
3,775
Location
Basingstoke, Hampshire
Man oh man you are braver than I am! Nearly got skiddies in my underwear just looking at those hollowing photos ...

I'm intrigued. Popcorn is in the micro, SWMBO has been sent for a beer and I am ready for the next instalment ...

:camera:
 

paulm

grave manibus faciendum
Registered
Joined
Oct 7, 2013
Posts
12,046
Location
Sandford
First Name
Paul
better than watching Evil Knevil jumping over the grand canyon. I need more now... :thumbs:
 

Dalboy

Executive Member
Joined
Mar 20, 2014
Posts
7,720
Location
Kent
First Name
Derek
Thanks for the support guys. I was not sure about posting this originally as with something like this anything can go wrong so you end up without a project. As Woody will tell you this is not that scary to do just a bit of common sense,like keeping your fingers and any other body parts out of the way.

A gentle touch helps OH yes don't move the rest while it is spinning it took me 15minutes to get it running true again:goesred: and then another 10 to repair the damage:goesred: ie turn it away luckily I had plenty of meat left on it also it helped in the long run:banana:.

I think I have spent at least 3/4hr hand sanding it inside and out then giving it another coat of hard wax oil which has revealed a small spot that needs a little sanding.

Tomorrow will start on the next bit. There are a total of 4 pieces to this maybe 6 depending on what design I go for but the overall shape will be the same for either:thinks:. The second is to use a technique that I have not tried before and have only seen once on a carving.
 

Jim

Grand Master
Joined
Oct 19, 2011
Posts
15,617
You have us on the end of our seats Derek.. Looking forward to making out what the project is my friend .. :thumbs:
 

Penpal

Grand Master
Joined
May 26, 2013
Posts
25,342
Location
Canberra AUSTRALIA
First Name
Peter
Derek your a Tiger I can tell by the window protection the odd one has got away. Great turning ,mate.

Peter.:thumbs::thumbs:
 
Top